29 Removable Wall Decal Ideas for a Small Apartment
Blank rental walls get old fast. You stare at the same white box every night, you want it to feel like yours, and then you remember the lease. No paint. No holes, or only a couple. No damage when you leave. That is where removable wall decals earn their keep. They stick on, they peel off, and in between they do most of what paint and wallpaper do, without the fight at move-out.
A decal is not peel-and-stick wallpaper, even though shops often put them side by side. Wallpaper covers a whole wall in big panels. A decal is a single shape, a set of shapes, or one scene you place where you want it. That matters in a small apartment: you can add a little, or a lot, and stop halfway with a wall that still looks finished. Before you stick anything, wipe the wall clean and dry, test one piece in a hidden spot, read what the maker says about your wall type, and check your lease. Fresh paint and textured wallpaper are where decals most often fail.
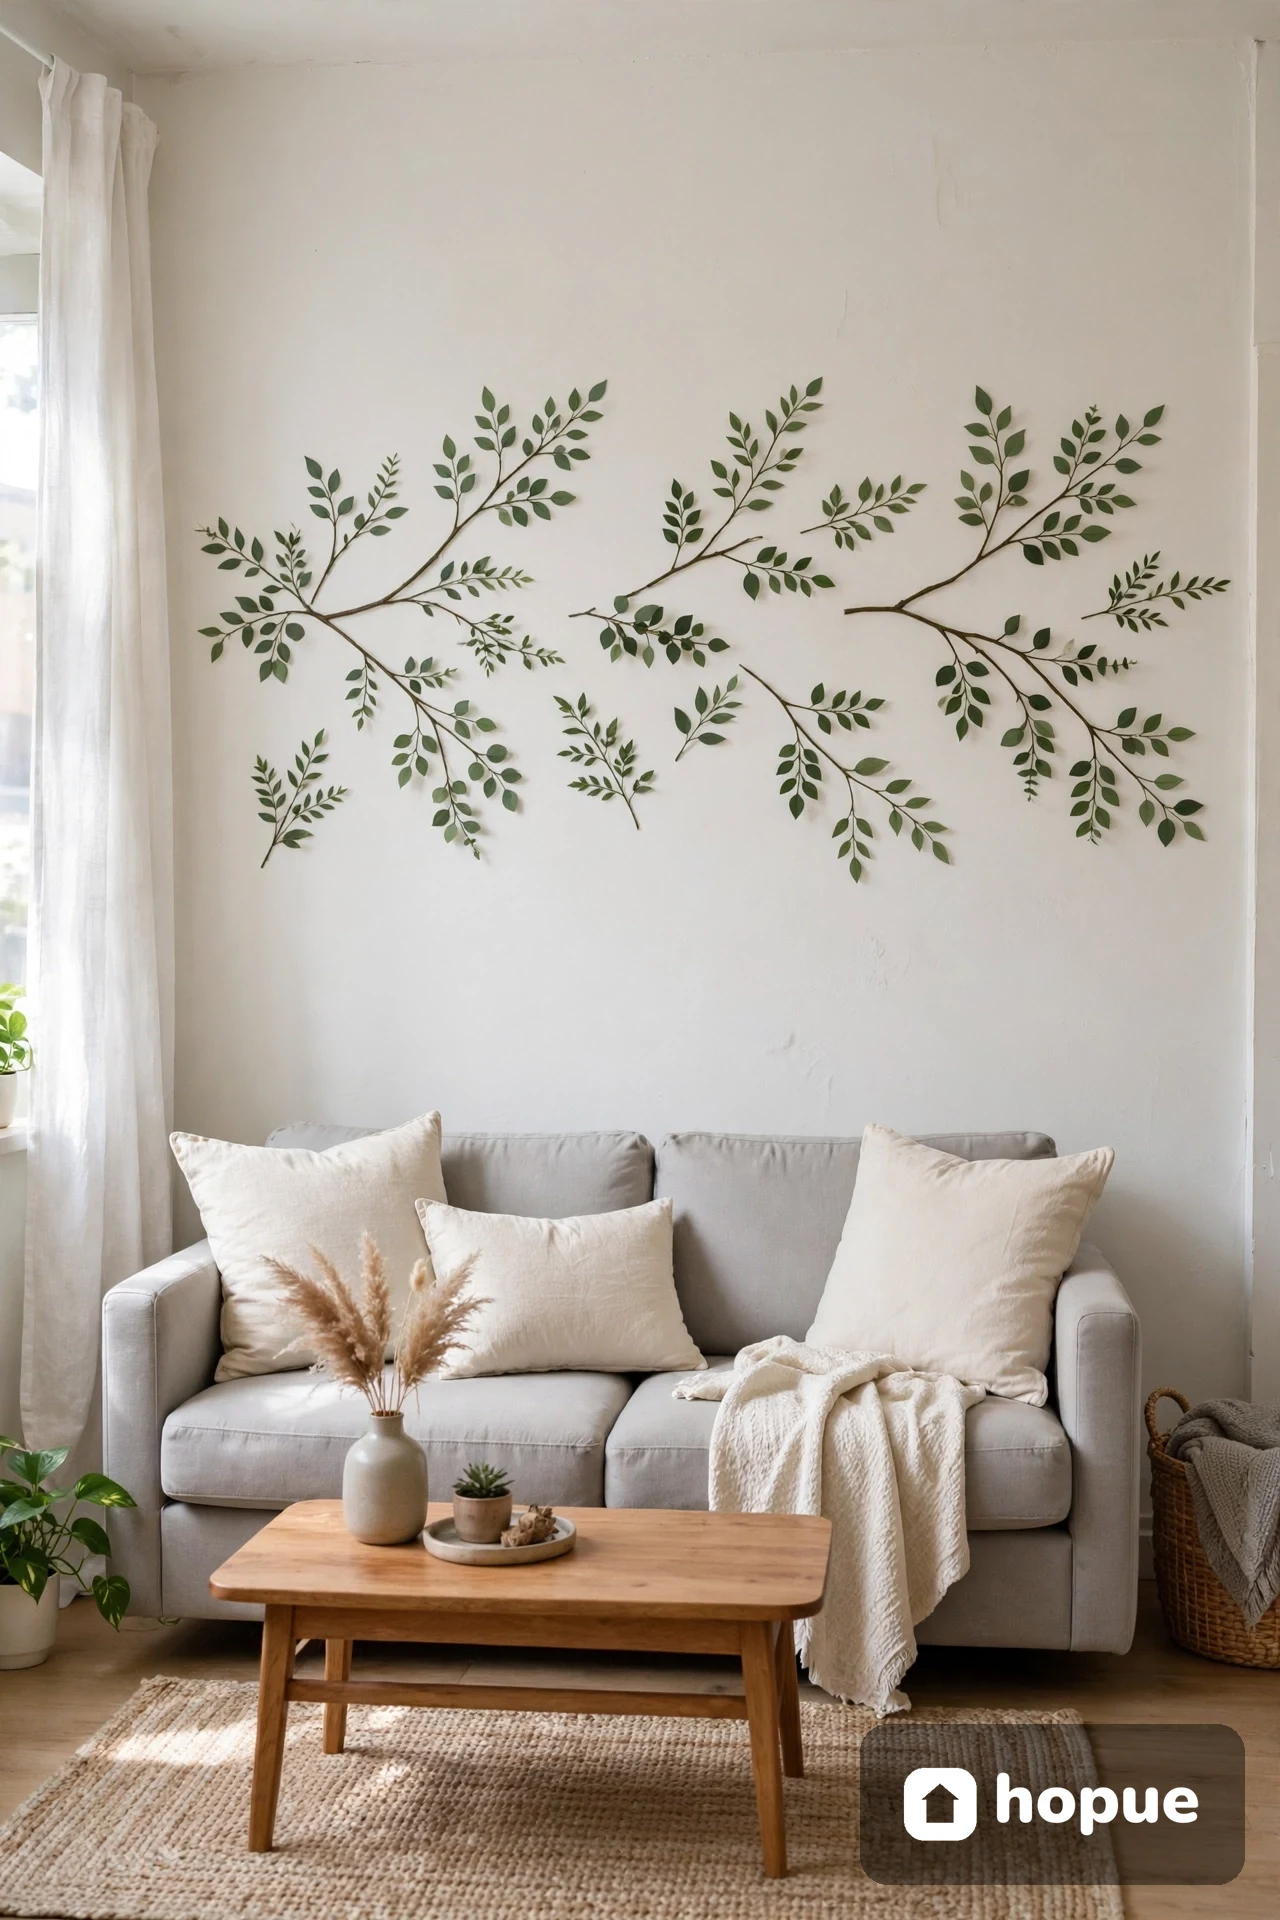
1. Leafy Branches Above the Sofa
Start with the wall you look at most. A few sage-green leafy branches above the sofa can make a plain living room feel finished. Place the longest branch slightly off-center, then add smaller ones around it.
My first try bubbled because I pressed end to end. Now I smooth from the middle out, and a lifting edge usually just needs a wipe and a re-press.
2. Soft Arches Behind the Bed
An arch is paint’s best trick, minus the paint. One wide, soft arch behind the bed gives you a headboard feeling without buying furniture. Warm clay, dusty blue, or pale terracotta all work, because the shape stays simple.
I learned the fresh-paint rule on an arch. I put one up two days after a repaint, and a corner came away with a little paint when I moved it. Wait until paint has fully cured, and test a corner low down first.
3. Scattered Dots for a Plain Hallway Wall
Dots sound too simple until you see them on a narrow hallway wall that had nothing going for it. Small dots in two or three close colors, scattered loose instead of lined up in rows, break up all that white without making the hall feel busy.
Dots are forgiving, which makes them a good first decal. If one goes on crooked, nobody knows. Peel it, move it, try again — just do not stretch a dot as you place it, or it will shrink back and lift.
4. A Botanical Mural on One Living Room Wall
One wall. That is the whole idea. A big botanical mural — tall stems, big leaves, maybe a bird tucked in — turns the longest wall in a studio into the room’s main feature. The other walls can stay quiet.
Big pieces need patience and a second pair of hands if you can get one. Peel a little at a time and smooth as you go. A mural put up in a rush is how you get wrinkles you notice every time you sit down.
5. A Growth Chart That Moves With You
A growth-chart decal on a door frame or a corner wall is one of those small things kids remember. Mark heights on it if the maker says you can, or use tiny date stickers beside it. When you move, the chart peels off and goes to the next place, marks and all.
Put it where kids can stand flat against the wall, not on a baseboard or a bumpy corner. Keep it low enough that the marks stay honest. A chart that starts halfway up the wall is decoration, not a record.
6. Chalkboard Decals for Lists and Doodles
A chalkboard decal in the kitchen is a shopping list that never gets lost. In a kid’s room, it is a doodle wall that does not eat the paint. Stick one near the fridge, or at kid height beside a small table, and keep chalk nearby so it actually gets used.
Check whether yours takes real chalk, chalk markers, or both. They are not the same, and the wrong pen can stain. Wipe it the way the maker tells you to, and test a corner first.
7. A Short Quote Over a Reading Nook
Words work best when there are not many of them. One short line over a chair, a floor cushion, or a little shelf — something you actually say or believe, not a saying you picked because it filled the space. Big letters, plenty of empty wall around them.
Read it from across the room before you press it down. Lay the words out on the floor first, take a photo, then put them up in that order. Five extra minutes, and no crooked line you see every day.
8. A World Map for the Travel Dreamer
A map decal suits a small apartment because it fills a wall without filling the room. Put a simple world map over a desk or beside the bed, and add small dots or stars for places you have been, places family live, or the trip you are saving for.
Keep the map at a size you can actually read. A map so small the names blur is just a shape. Check the finished size in the product details, and measure your wall — with a tape, on the wall — before you order.
9. Backsplash-Style Tiles Above the Counter
You cannot tile a rental backsplash, but you can suggest one. Tile-look decals placed above the counter, clear of the sink splash and the stove, give a kitchen that finished look from across the room. White, soft green, or a simple pattern all read clean.
This is not a job for the wettest, hottest spots. Decals do not belong near direct steam, open flame, and the strip right behind the sink unless the product clearly says it can handle that spot. Above the counter, they last far longer.
10. Fruit and Herb Decals on the Fridge
The fridge is wall space too, and it is already smooth. Small herb sprigs, lemons, or a row of fruit decals on a fridge door add color to a kitchen with no wall to spare. They wipe clean with the door, and they come off when the fridge does not come with you.
Test one on a low corner first, especially on coated stainless steel. Some finishes grip fine. Some do not. Keep decals clear of the seal and the handles, where hands grab every day.
11. Humidity-Smart Decals in the Bathroom
Bathrooms can take decals, but only the right ones, in the right spots. Think leaves or simple shapes on the wall opposite the shower, not inside it. A small bathroom feels less cold with a little green at eye level, and you notice it every morning.
Humidity is the limit here. Run the fan, let the wall dry fully before you stick anything, and pick a product that says it suits bathrooms or humid rooms. If the maker does not say so, assume it does not.
12. A Welcome Moment in the Entryway
The entryway is small, so one clear idea is enough. A simple branch, a small arch, or a few dots beside the door, plus the hook or bench you already have, tells people they are home the second they walk in. Do not crowd it. Coats, bags, and shoes will do the rest.
Put the decal where bags will not brush it every day. A branch at shoulder height beside a coat hook lasts about a week. Higher up, or on the wall opposite the hooks, it stays clean and visible.
13. Decals on the Inside of a Closet Door
The inside of a closet door is private wall space. A small scene, a quote, or a pattern there is just for you, every time you open the door. It is also a smart test spot — try a new decal here first, where only you will see a mistake.
Closet doors get opened and closed a lot, so press the edges down well and avoid the spot where your hand grabs the door. Flat, smooth doors work best. Louvered doors do not. The slats break up the shape and the edges catch.
14. Stair Riser Patterns That Wake Up the Steps
If your small apartment has stairs, the risers — the flat back of each step — are begging for pattern. A simple tile or leaf pattern on the risers adds color you see every time you go up, without touching the walls at all. Keep the pattern the same on each step, or alternate two designs.
Feet do not touch risers much, which helps, but shoes brush them. Press each piece firmly, especially at the bottom edge, and check the edges after the first week. A lifting corner is easy to fix early, and annoying once it has curled.
15. Stars and Clouds on the Ceiling
Look up. In a bedroom, the ceiling is the wall you see last at night and first in the morning. Soft matte stars, a few clouds, or a small moon over the bed can make a plain rental bedroom feel personal in a way wall art never quite does. Kids love it. So do adults who will not admit it.
Ceilings are awkward to work on, so keep the design simple and use a step stool you trust. Check the pieces from the pillow, not just from the ladder — what looks centered from above looks off from the bed.
16. Seasonal Swaps You Change in Minutes
This is the decal idea renters love most, because it uses the one thing decals do best: change. Autumn leaves in October, snowflakes in December, blossoms in spring. Peel the old set off, wipe the wall, stick the new set on. No paint, no holes.
Store the off-season set flat, backing on, somewhere it will not bend or collect dust. A bent decal never sits quite right again. Small sets work better, too. One branch of leaves reads as seasonal. A whole winter forest reads as a lot to take down in January.
17. Black-and-White Line Art for a Rented Bedroom
If color feels like too much, line art is the quiet answer. One face, one flower, one continuous line drawing in black on a white wall looks grown-up and calm, and it suits a bedroom that already has patterned bedding. The wall stays simple. The bedding does the talking.
Line decals are thin, so they show every bump and wrinkle. Take your time, smooth gently, and do not pull the line tight to straighten it. If it goes on with a wave, peel it back to the last good spot and lay it down again.
18. A Boho Sun and Rainbow in a Nursery
A nursery wall does not need a full theme. One warm sun, one soft rainbow, a few small clouds, and the room feels gentle without feeling like a shop display. Place the rainbow where you sit to feed or rock the baby, so you see it too, not just the crib.
Decals belong well above the crib and out of reach, and follow the maker’s age and placement guidance. Babies pull at anything in reach, and a nursery decal is decoration, not a toy. Low walls can wait until the child is older.
19. Faux Wainscoting Lines in a Dining Nook
A dining nook in a rental often has nothing but a table and a bare wall. Thin decal lines in a rectangle pattern, like wainscoting, give that wall shape and structure. Lines alone — no color needed — and the nook suddenly looks like a room someone planned.
Lines need to be level, or the trick fails. Use a level, or a phone level app and a pencil mark you can erase. Eyeballing a long horizontal line is how you end up with a rectangle that slopes, and you will notice the slope every meal.
20. Botanical Vines Around a Window Frame
A window frame with vines climbing around it makes a small room feel softer, like the outside got invited in. Run one vine up each side, let a few leaves reach over the top, and leave the glass and the sill clear. Light still comes in. The room just feels greener.
Do not cover the window hardware or the latch. You need to open that window, and a decal over the latch will tear the first time you need air. Keep the vines on the wall around the frame, and test a leaf low down first.
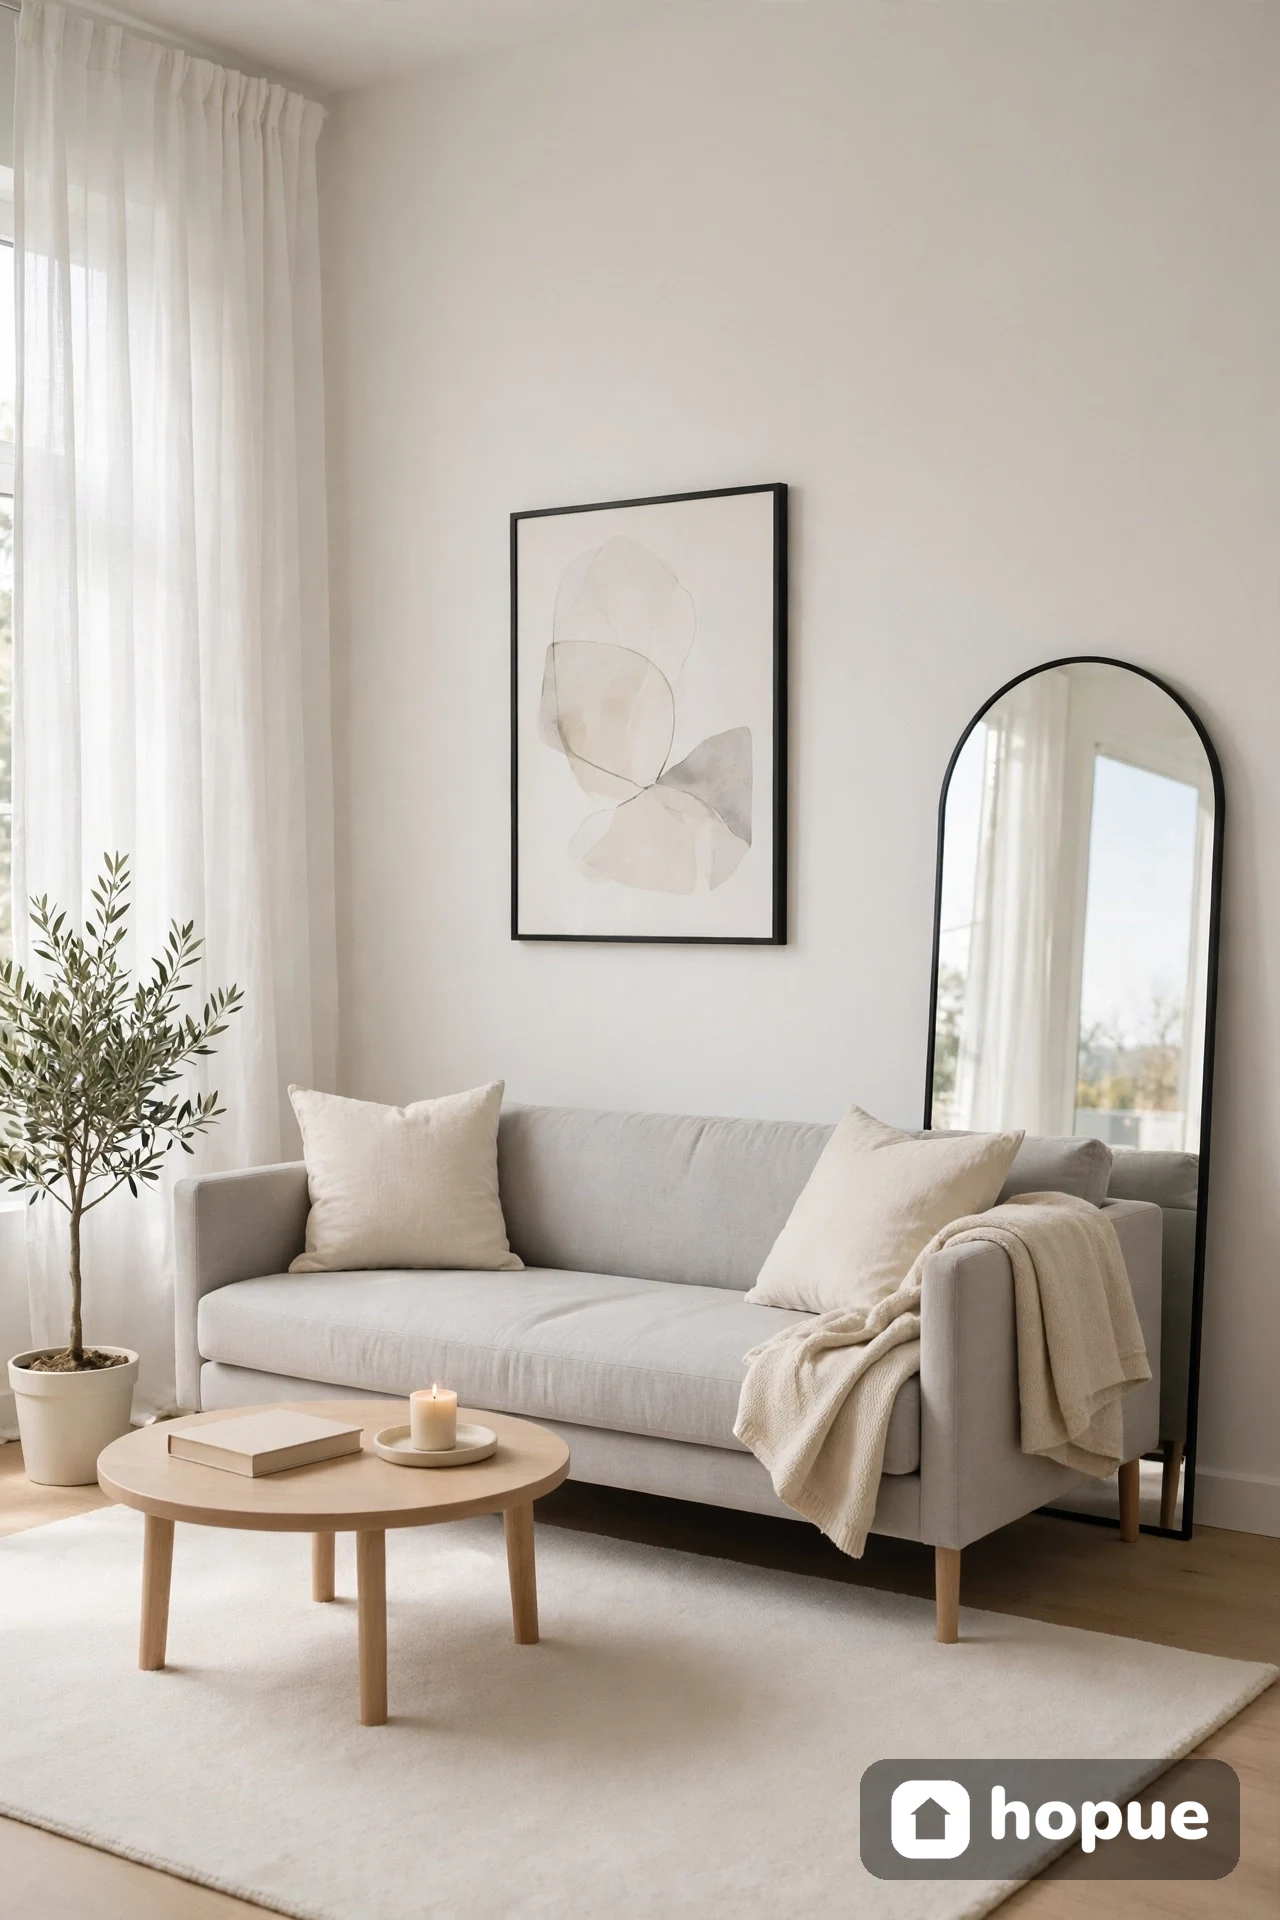
21. Decals Mixed With Real Frames and a Mirror
Decals do not have to work alone. A small branch decal tucked between two framed prints, or a few dots drifting up from a mirror, fills the awkward gaps in a gallery wall without another nail. The mix looks collected, not stuck-on, because your eye reads the frames first and the decals second.
Leave real breathing room. If the decal touches a frame, it looks like a mistake. Give it at least a hand’s width of empty wall on each side, and keep the decal simpler than the art beside it. The frames carry the detail. The decal carries the air.
22. A Headboard Outline When You Cannot Buy One
No headboard, no problem, and no need to buy furniture for a short lease. A decal shaped like a headboard — an arched top, a simple spindle shape, or a clean rectangle with a thin border — gives the bed a finished edge. It works best with plain bedding, so the shape reads clearly.
Center it on the bed, not on the wall. Beds move a little. Walls do not. Measure from the mattress, mark the center lightly, and place the outline just above the pillows. Too high, and it floats. Too low, and the pillows hide it.
23. Playful Animals at Kid Height
In a kid’s room, put the fun where kids can see it. A fox, a bear, a row of small birds at a child’s eye level turns a plain wall into a story. Kids point, name them, and make up what they are doing. That is the point. This wall is for them, not for photos.
Place animals where they will not get grabbed or leaned on — a little above reach for toddlers, right at eye level for older kids. Keep the set small. Three or four animals with space between them feel like friends. Twelve crowded together feel like noise.
24. Coffee and Pantry Labels in the Kitchen
Small word decals on pantry jars, canisters, or the wall above open shelves do quiet, useful work. Coffee. Tea. Rice. Flour. You stop opening every jar to find the right one. In a small kitchen, that saves real time, and the labels make open shelves look tidy even when they are not.
Put word decals on smooth, clean jars, not on rough wood or textured containers. Wash and dry the jar fully first, and let it sit a day before you fill it and handle it a lot. A label put on a damp jar will lift at the corner while you are cooking.
25. A Calendar Decal That Keeps the Week Visible
A calendar decal on a kitchen or hallway wall keeps the week where everyone can see it. Write-on types let you note school dates, work shifts, and bin day without another whiteboard or a phone nobody checks. For a small apartment, a wall calendar that takes no floor space is a small win.
Only use the pen or marker the maker names. A dry-erase marker on a chalk decal, or the reverse, can leave marks that will not come off. Test in a corner, write small at first, and wipe it clean the way the instructions say.
26. Geometric Half-Wall Colour Blocking
Colour blocking with decals is paint’s look without the roller. A large half-wall shape — a soft block of color across the lower wall, a big circle behind a chair, a set of arches in two tones — divides a studio into zones. Sleeping side, working side, sitting side. The eye gets the split, and the floor stays open.
The edge has to stay crisp. Geometric decals live or die on straight lines and clean curves, so smooth the edges firmly and do not reposition the same piece over and over. Each lift weakens the hold a little. Place it, check it from across the room, and leave it alone unless it is truly off.
27. Decals on Furniture Fronts
Do not stop at walls. Smooth dresser fronts, drawer faces, and the flat side of a bookcase can take decals too, and a plain secondhand dresser can look intentional with a simple pattern on the drawers. This is a good fix for furniture you do not love but cannot replace right now.
Test on the back or the bottom of one drawer first. Some finishes — glossy lacquer, waxed wood, polished laminate — grip poorly or can mark when a decal comes off. If the test piece lifts clean after a few days, go ahead. If it does not, keep the decals on the wall.
28. Budget DIY: Cut-Your-Own Vinyl Shapes
If shop-bought sets feel pricey for a short lease, simple DIY shapes are the budget route. Removable vinyl, a craft cutter or sharp scissors, and shapes a child could draw — leaves, moons, dots, stars — will cover a wall for far less than a printed set. You choose the colors. You choose the size.
Keep the shapes simple. Fine detail tears, curls, and frustrates. Big, bold shapes stick well and look good from across the room, which is where you will see them most. Use vinyl sold as removable, and read the label before you cut. Permanent vinyl is a move-out problem in disguise.
29. A Home Office Backdrop That Reads Well on Camera
Your video-call background is a wall too. One arch, a branch, or a few dots behind your desk gives calls a calm, finished look without a bookshelf you do not have room for. Frame it for the camera, not for the room. What the camera sees is a tight rectangle. Decorate that rectangle.
Sit at your desk, turn the camera on, and check the frame before you stick anything. A branch that looks perfect in the room can sprout from your head on screen. Shift it until it sits beside you, not behind you, then check the camera once more. That second check is the one that counts.
A small apartment does not need a lot of decoration to feel like home. It needs a few choices that fit the lease, the light, and the way you actually live — a branch over the sofa, dots in the hall, a calendar where the week gets seen. Start with one wall, test a hidden spot, and let the rest wait until that first decal has proved itself. Move-out day will thank you. So will the wall.
Frequently Asked Questions
Will removable wall decals peel paint or leave sticky residue when I move out?
They should not, if the wall was ready and the decal is truly removable — but “should not” is not a promise. Paint that has not fully cured, walls with dust or grease, and decals left up for years in strong sun are the usual causes of peeling paint or sticky edges. Clean and dry the wall first, and test a piece in a hidden spot for a few days. At move-out, peel slowly, low and close to the wall, and use gentle warmth from a hair dryer on a low setting for a stubborn edge, as the maker directs. Pulling hard is how paint comes with it.
Can I use decals on textured walls or freshly painted walls?
Most decals are made for smooth, flat walls, and texture is their weak spot. Light texture sometimes works with thicker decals, but heavy texture, rough plaster, and textured wallpaper usually mean edges that will not stay down. Fresh paint is a separate risk: paint needs time to cure fully, not just feel dry, and a decal put up too soon can pull paint off when removed. Check the product details for wall types, wait the full curing time the paint or decal maker states, and always test a hidden spot first. If the test piece lifts or marks the wall, that wall is telling you no.
Can I reposition a decal, and how is it different from peel-and-stick wallpaper?
Most removable decals can be lifted and moved a few times, especially soon after you put them up, but each lift weakens the hold a little, so plan first and move them sparingly. Dust is the enemy: a decal that has picked up dust or lint will not stick as well the second time. Keep the backing if you can, store moved pieces flat, and press them down firmly after the move. Peel-and-stick wallpaper is different in scale and commitment. It comes in large panels meant to cover a whole wall, it is harder to reposition once a panel is up, and a mistake wastes far more material. Decals are the low-commitment cousin — single shapes you can place, move, and remove one at a time.
Do decals hold up in bathrooms and kitchens?
They can, with limits, and only if you respect water and heat. In bathrooms, use decals rated for humid rooms, keep them away from direct shower spray and steam, run the fan, and let the wall dry before sticking. In kitchens, keep them above the counter and away from the stove, direct steam, and the wet strip behind the sink unless the product clearly says that spot is safe. Grease matters too: wipe kitchen walls clean and dry first, because a decal stuck to a thin film of cooking grease will not last. Check the product details for heat and humidity limits, and if the maker does not mention them, choose a drier, cooler spot.